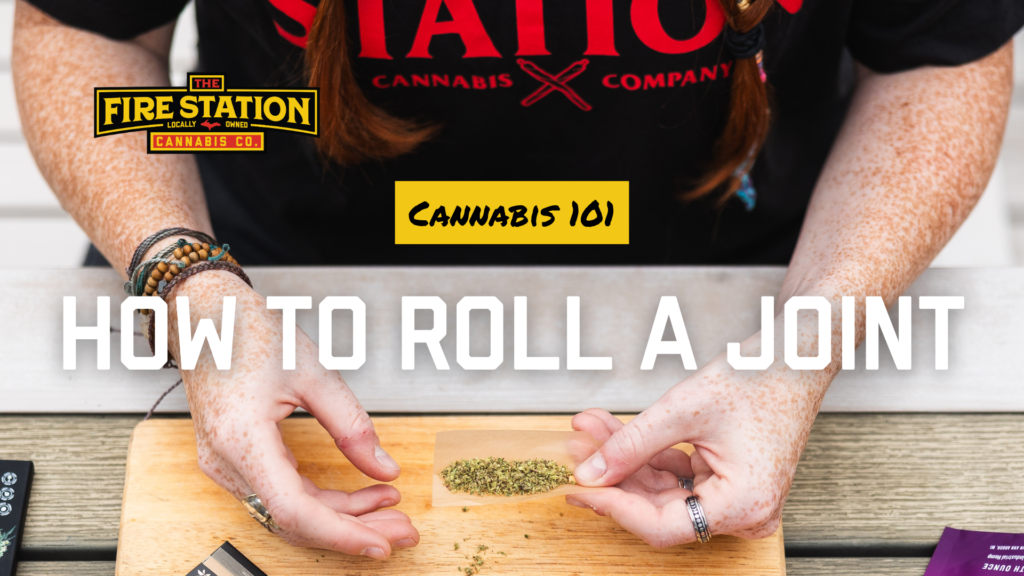
Rolling a joint can be tricky, especially if it’s your first (or second, or third) time giving it a try. We’re here to help! Try out our step-by-step guide to rolling your perfect joint.
Materials needed
• Cannabis flower (strain of your choice)
• Rolling papers and joint tips / cones
• Cannabis grinder
• Rolling tray
• A long, thin object such as a pencil
Optional: Roll your filter
You can make a filter (otherwise known as a tip or crutch) out of thin yet stiff pieces of paper such as a rolling paper pack or a business card. Filters also keep shake from falling out of the end or into the user’s mouth as they consume. Start by making about an 1/8 of an inch fold on one of the short ends of the paper, then make an equal fold in the opposite direction to create an accordion. Three total folds will make an “S” shape and should be enough to keep any flower from falling out. If you’re working with finer or drier flower, add a fourth fold to create a “W” shape.
Step 1: Grind your flower
Use a grinder to grind your cannabis down to shake. Using a grinder is crucial for creating a consistently packed joint and an even burn throughout the joint. Fresh flower will also make the following steps easier, as it’ll stick to itself better than older, drier flower. Be sure to remove any stems from your buds before grinding! If you don’t have a grinder, you can use your hands or scissors to break the bud into smaller chunks (ideally, about the size of a grain of rice).
Step 2: Fill the rolling paper with cannabis
Place your filter, either homemade or pre-purchased, on one end of your rolling paper. Then, add your freshly ground shake with one hand while holding the filter in place inside the rolling paper with the other. Be sure to remove any air pockets, specifically near the filter, as this will make for an uneven burn and could create a canoe. Do not overfill the rolling paper.
Step 3: Shape the rolling paper
Now, the moment we’ve been waiting for! Pinch the rolling paper between your fingertips and gently roll it back and forth. This packs the cannabis into a cone shape. Then, pinch the paper closed by tucking the front, unglued side of the paper between the shake and the back of the paper as tightly as possible and continue rolling upwards. Finally, lick the edge of the glued side to secure the paper.
Step 4: Pack and seal your joint
Now, grab your long, thin object such as a pen or pencil to push the flower into the joint from the remaining open end. At this step, you can add any fallout from step 3 or stuff some additional flower into the top of the joint to be sure that it’s packed tightly. Once you’re satisfied, gently poke your toothpick down the center to help create a consistent burn.
Step 5: Twist the top
Secure your flower in the rolling paper by twisting the excess paper at the top of the joint. Be careful not to twist too much, as the more you twist, the further down you’ll push your flower. You can also moisten the paper before twisting to help create the seal.
Step 6: Enjoy!
Congratulations, you’ve officially rolled a joint! Now all that’s left for you to do is sit back and light up.
Final thoughts
Rolling a joint is all about preference, so feel free to play around with these or any other techniques you’ve heard of along the way! If this is your first time rolling a joint, remember to be patient with yourself, it all gets easier with practice! But, if you get too frustrated, The Fire Station always has pre-rolls waiting for you until you’re ready to try again.
The Fire Station Cannabis Club
Spark Good Times With Every Purchase
The Fire Station Cannabis Club is our customer loyalty program. Customers will earn points with every purchase, score access to VIP discounts and promotions, and enjoy a variety of free perks.
And just for joining, we’ll start you off with a blazing 150 points – that’s a warm welcome, right?
Shop our nine U.P. locations
You might also be interested in...
Stay up to date with The Fire Station
Sign up for official communications from TFS and get updates on our promotions, events and other content tailored to you.


